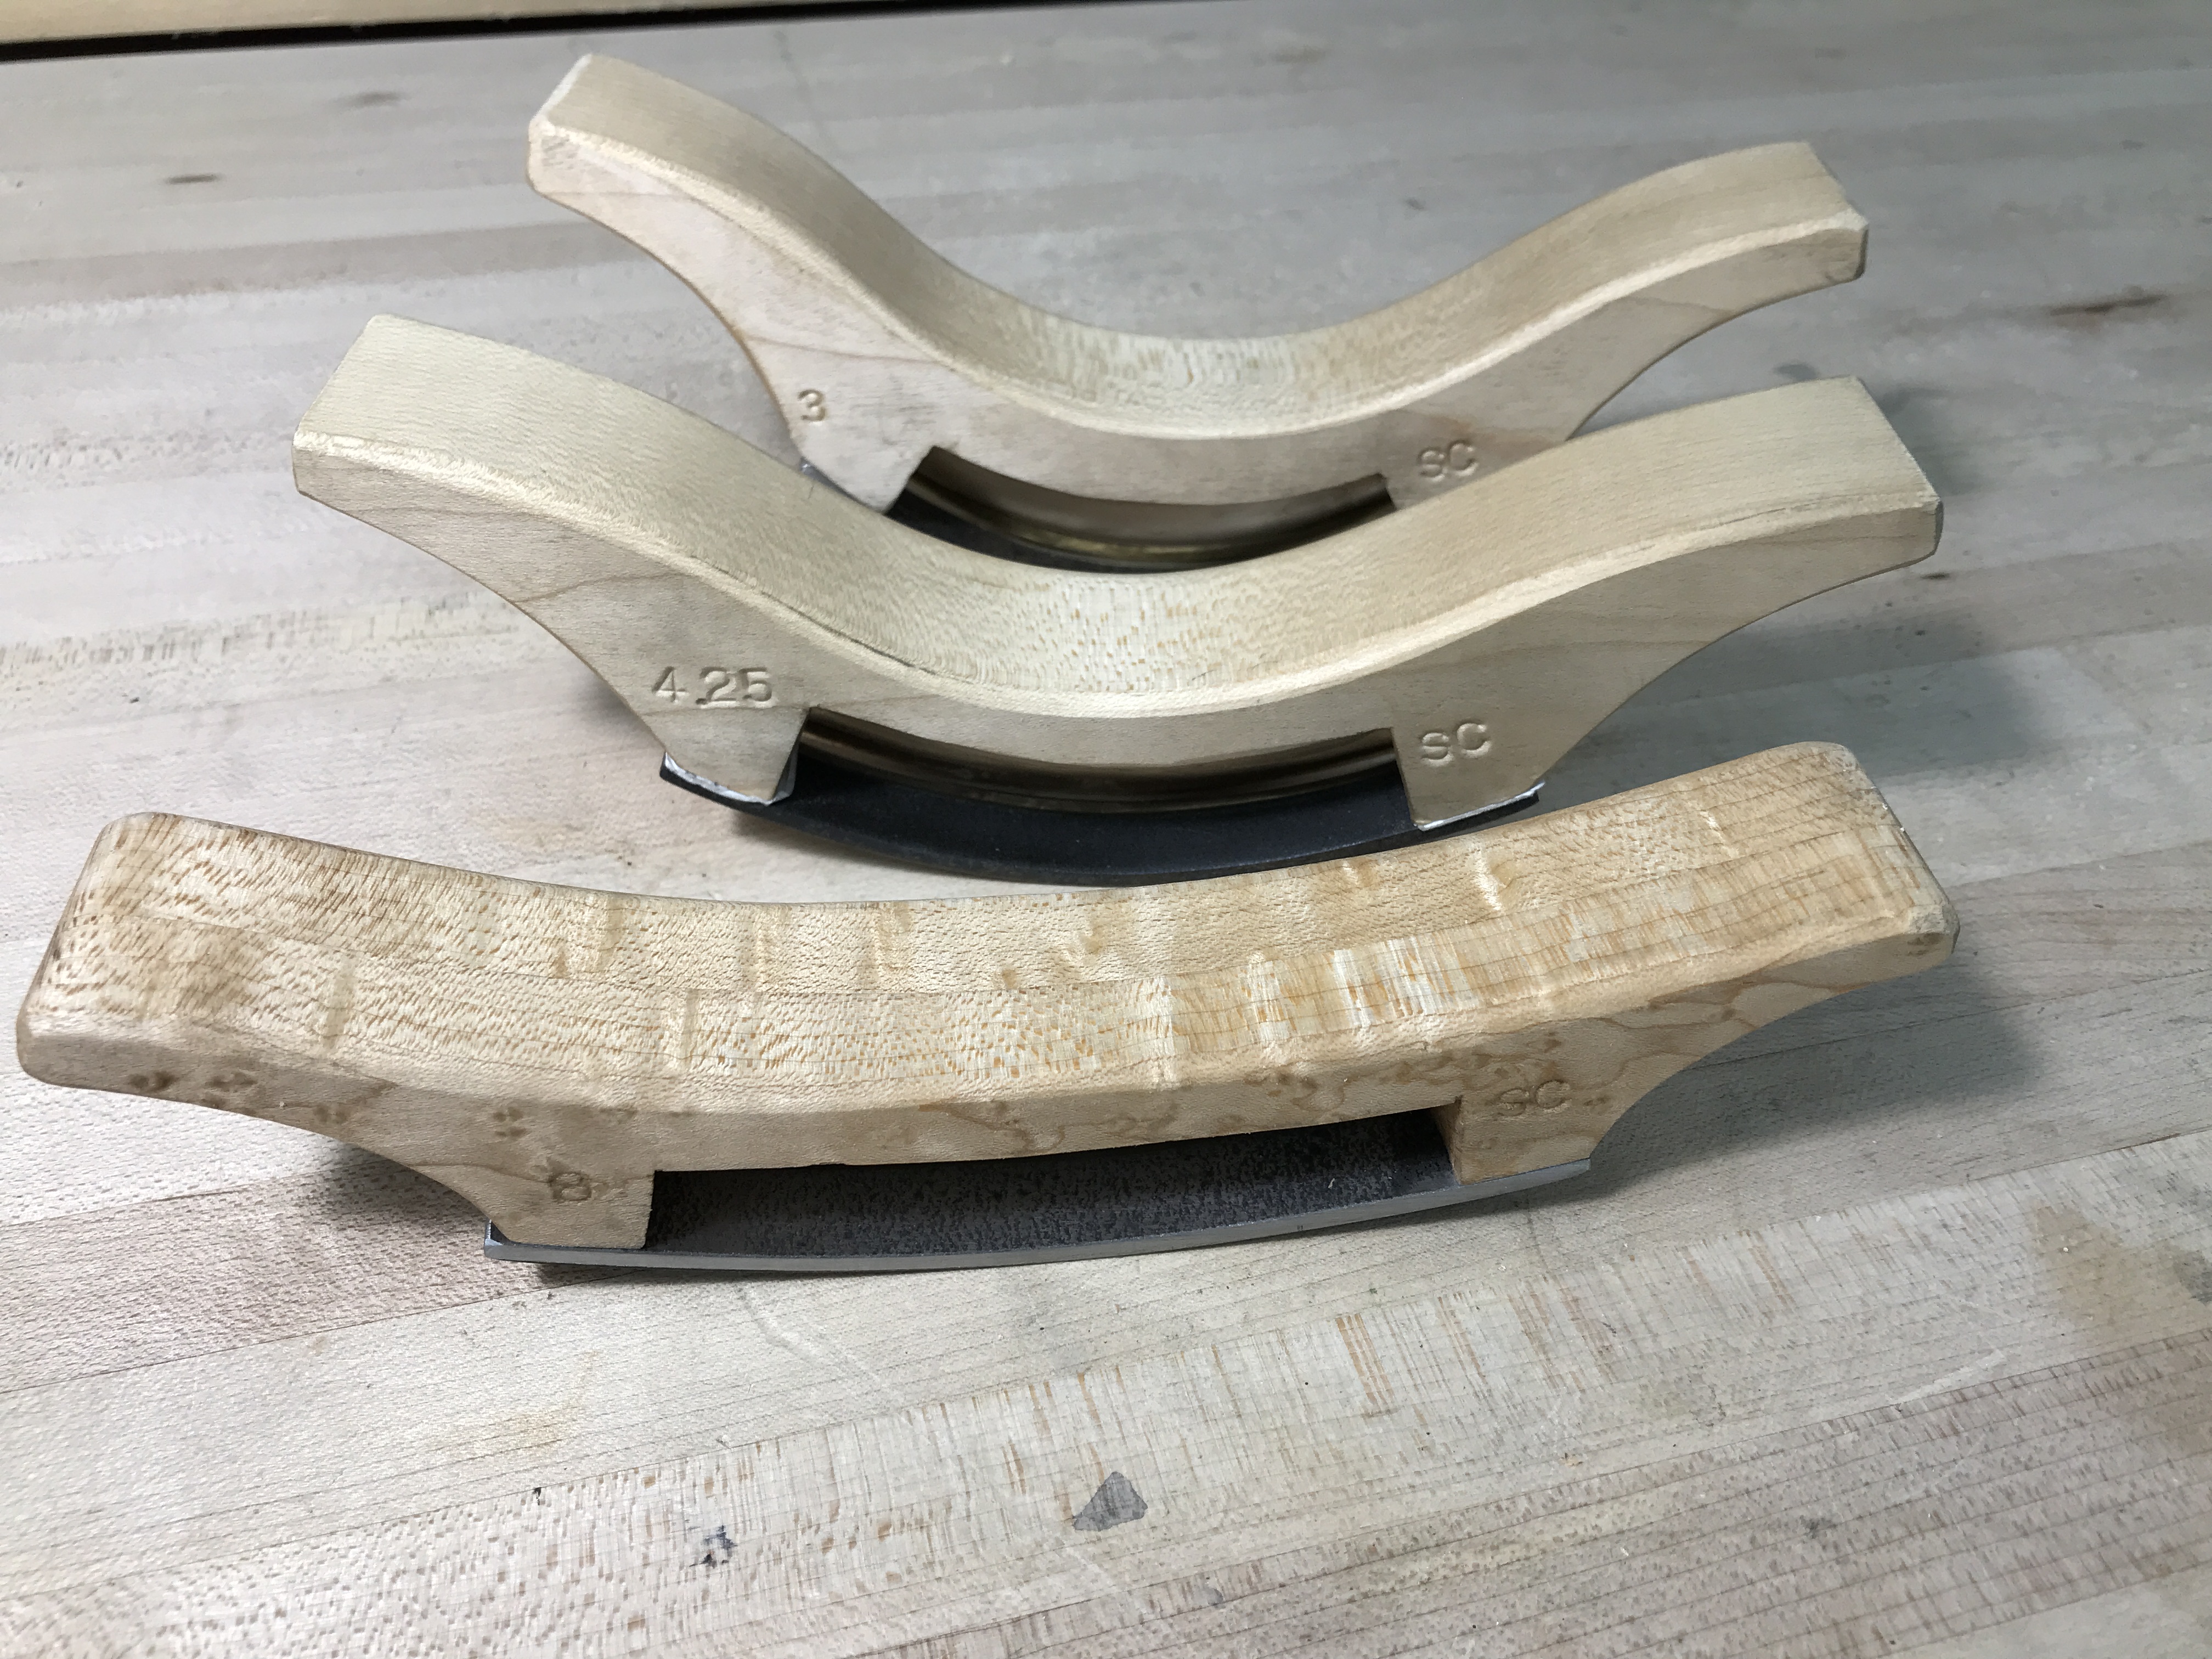
A travisher is an edge tool for shaping concave surfaces, something like a low angle spokeshave with a convex face. Travishers are the preferred tool for final shaping of a chair seat.
I made my first travisher a few months ago. There was a bit of trial and error involved and I was too preoccupied to document the process of building it. But I recently decided to build two more travishers and this time I remembered to take a few pictures. The first travisher had a 4.25” radius, it did a good job on two chairs that a friend recently built in the shop. The new travishers were to have a 3” radius and an 8” radius. One for getting into tight corners, and one for the flatter areas.
Inspirations Travishers are a pretty obscure tool. To the best of my knowledge nobody is making them for sale in Canada though there are some noteworthy makers in the US and England. So it would have been possible to buy one, but that would take the fun out of things. Derek from Perth has a great blog with clear instructions for making travishers. And on the home page of his blog, Derek encourages us to Be inspired, Be creative, Be bold … and so I was.
Materials and initial shaping I found some 1/8” O1 tool steel from a knife making supplier in the East Kootenays and I was able to find 1/8” brass here in town.
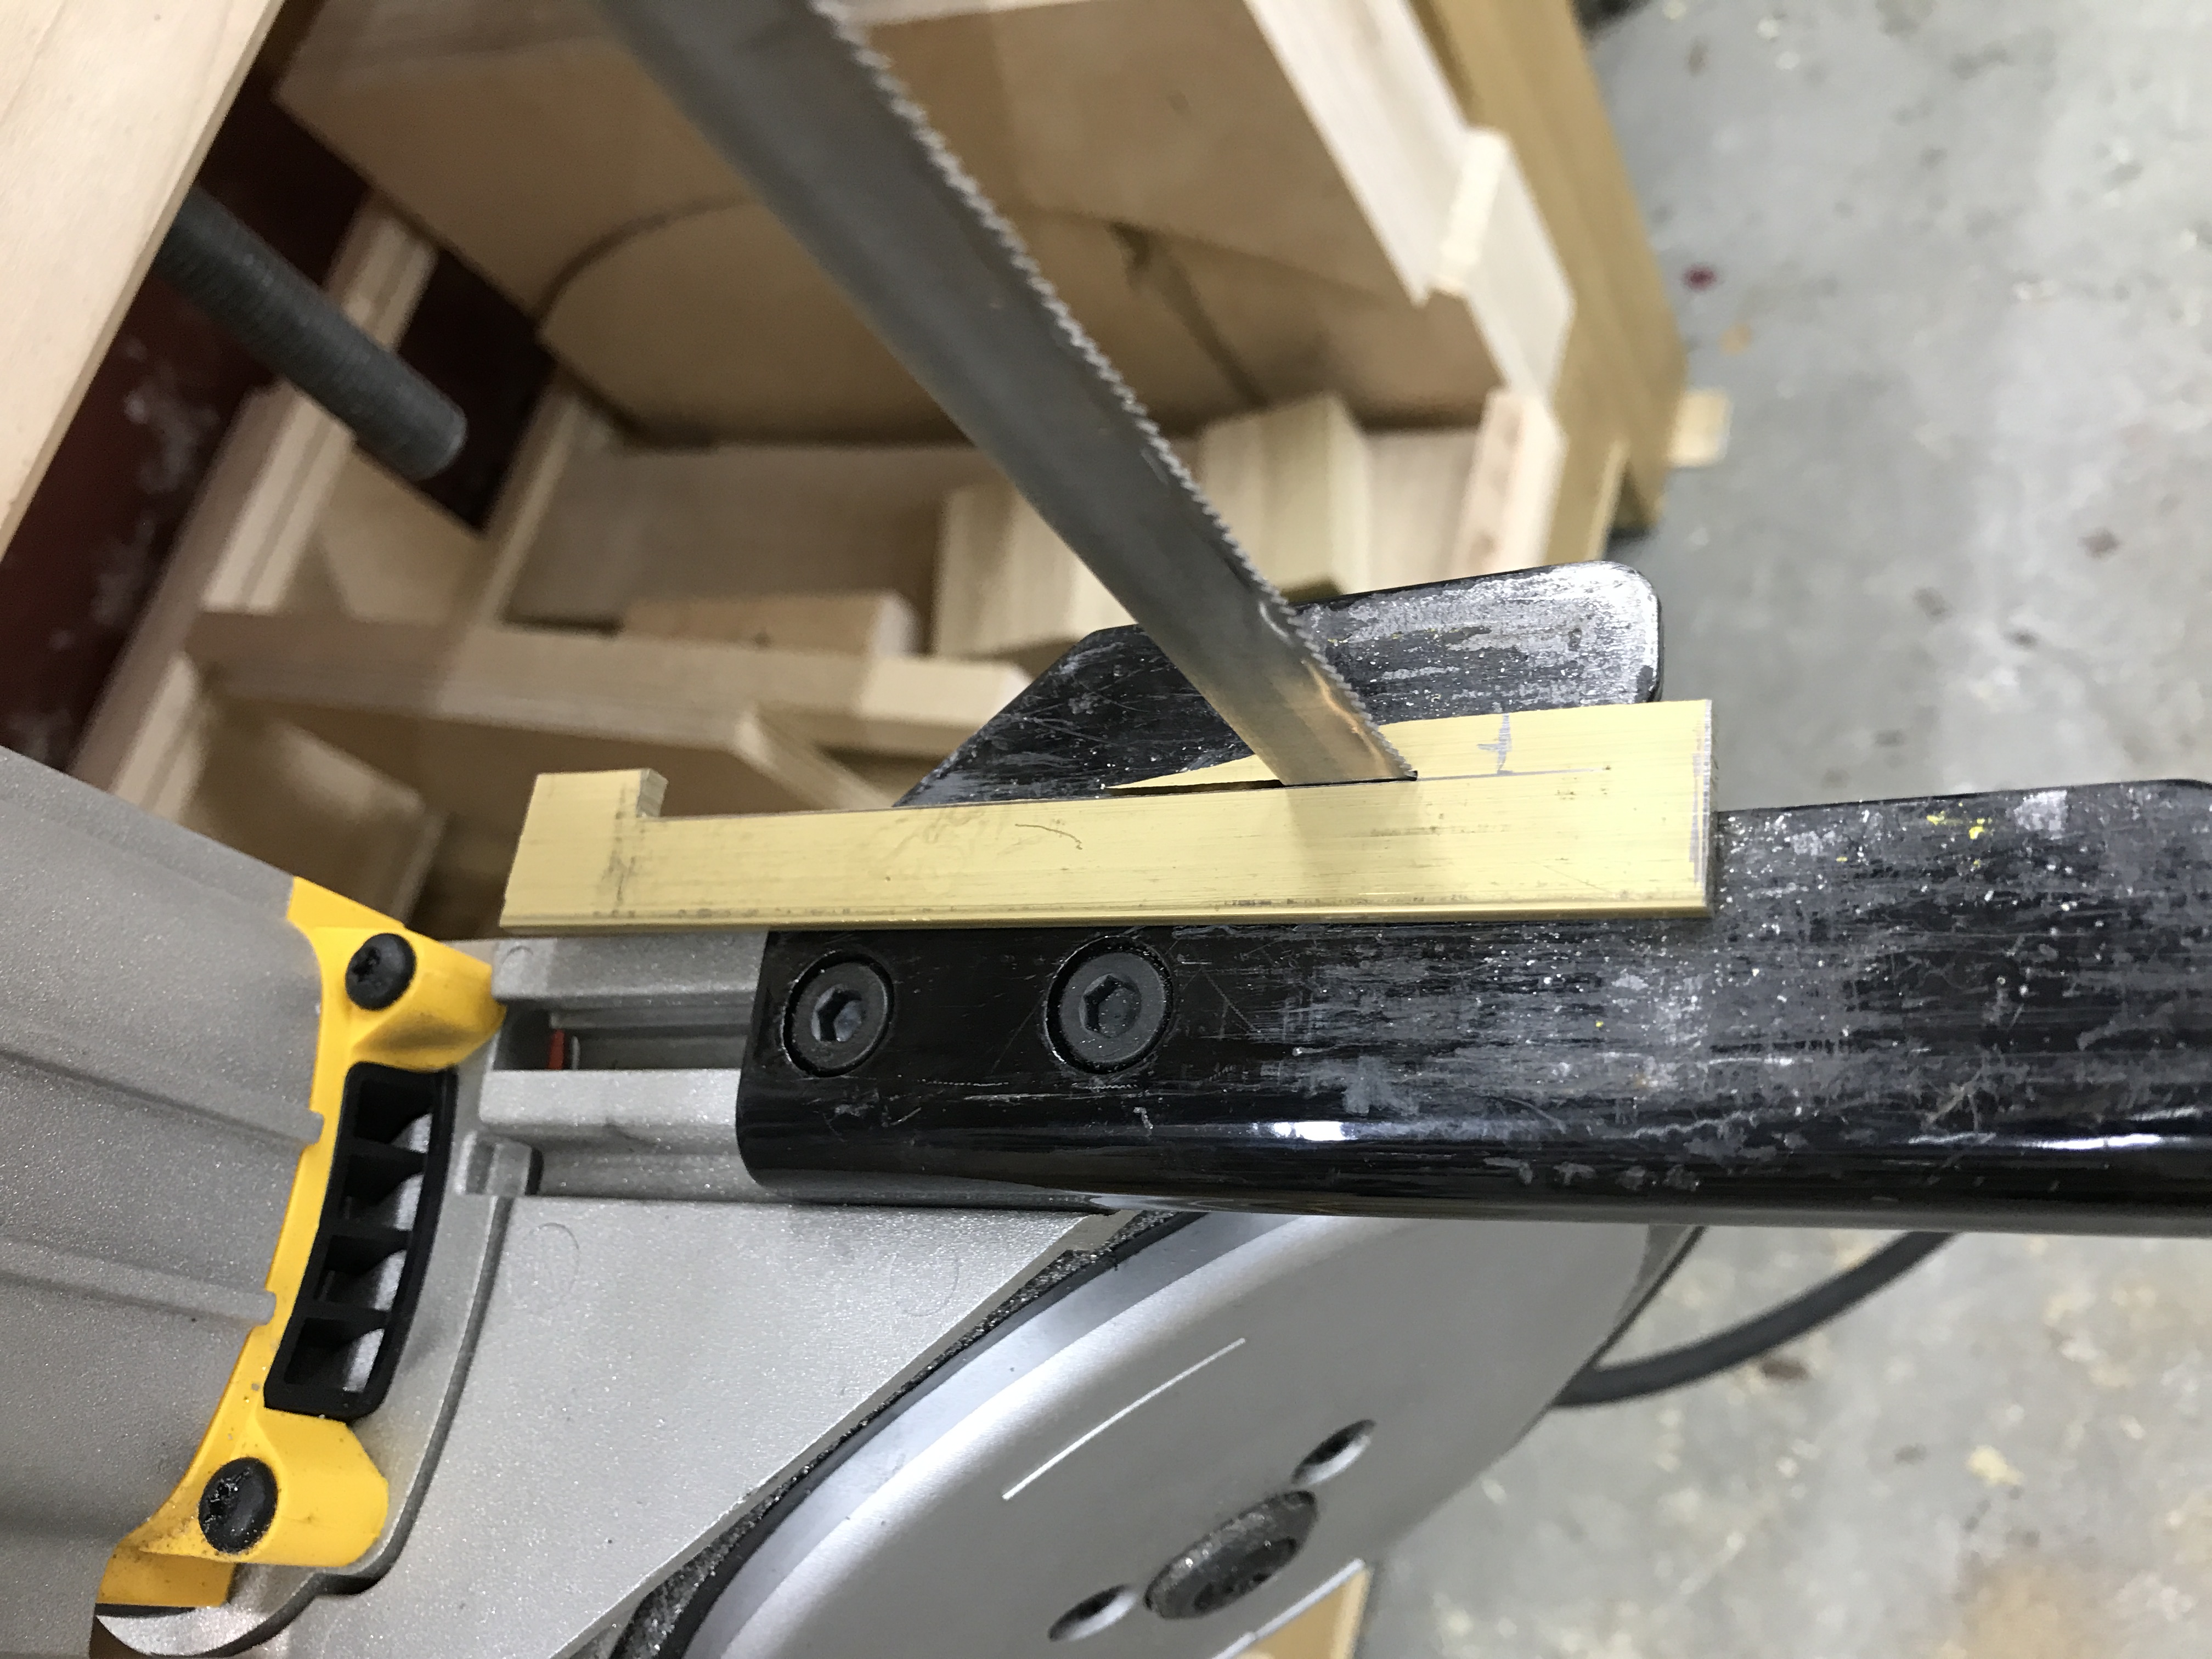
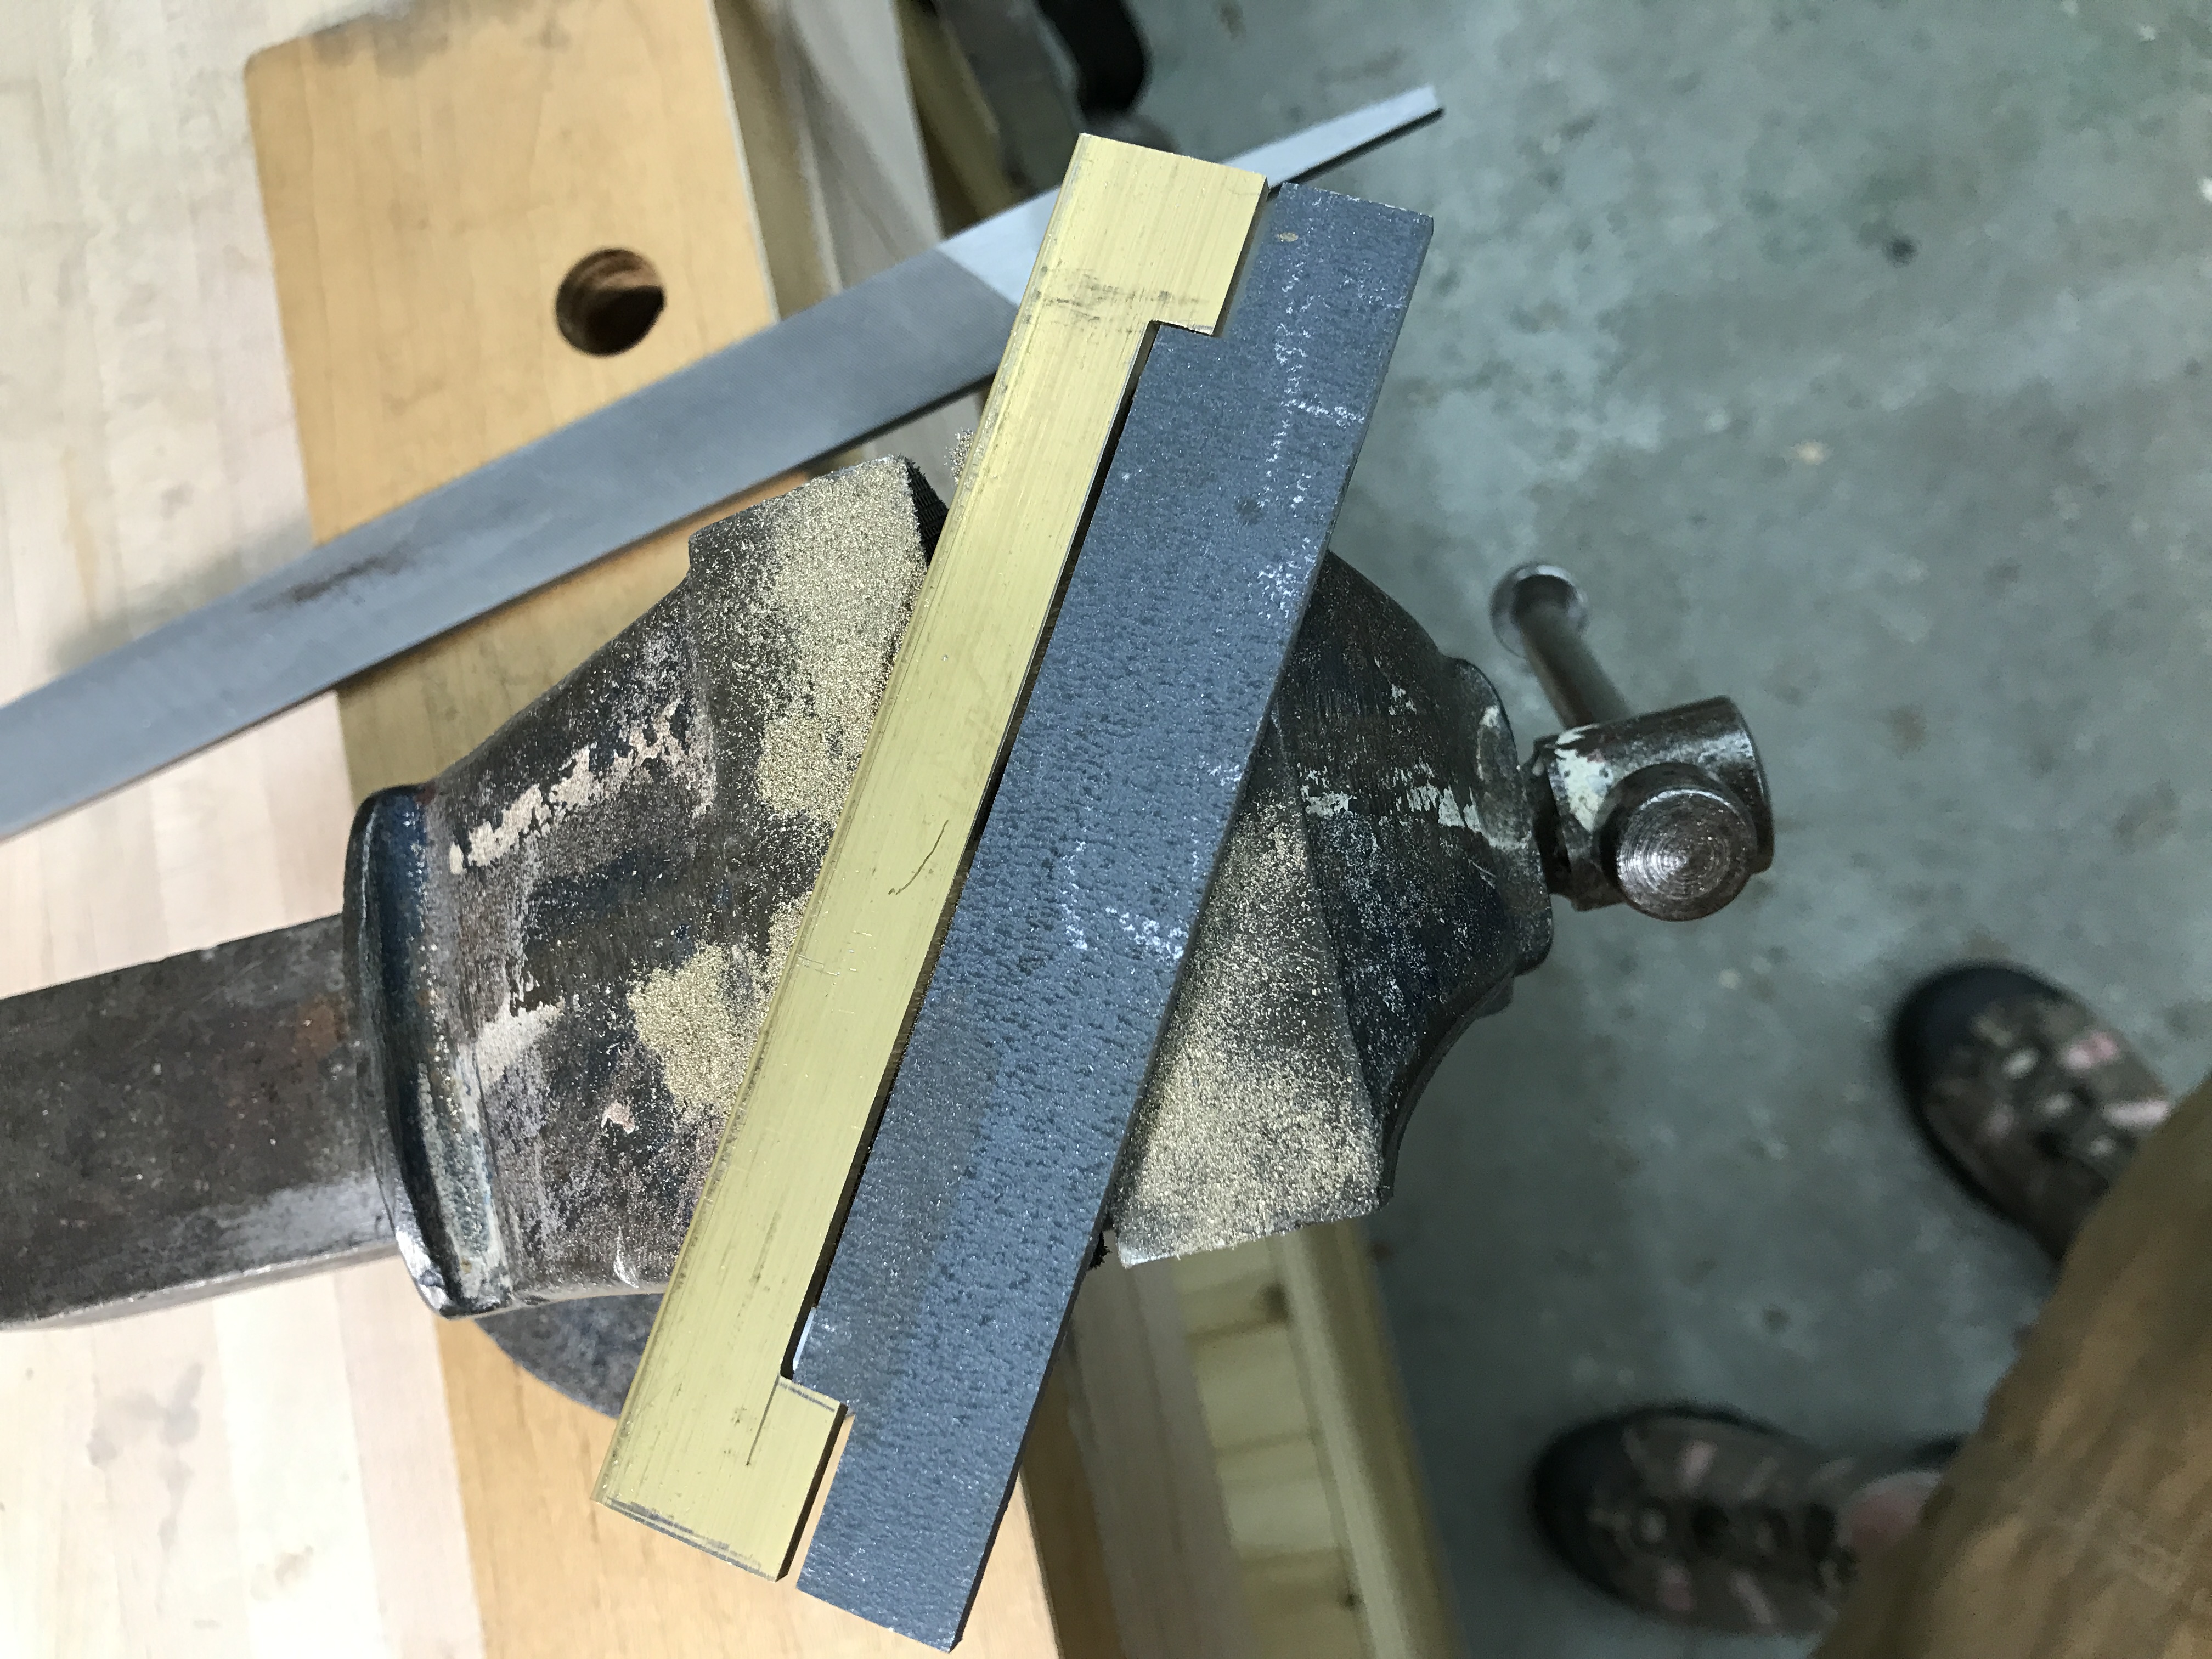
Initial shapes were cut out on the metal bandsaw and cleaned up with a file
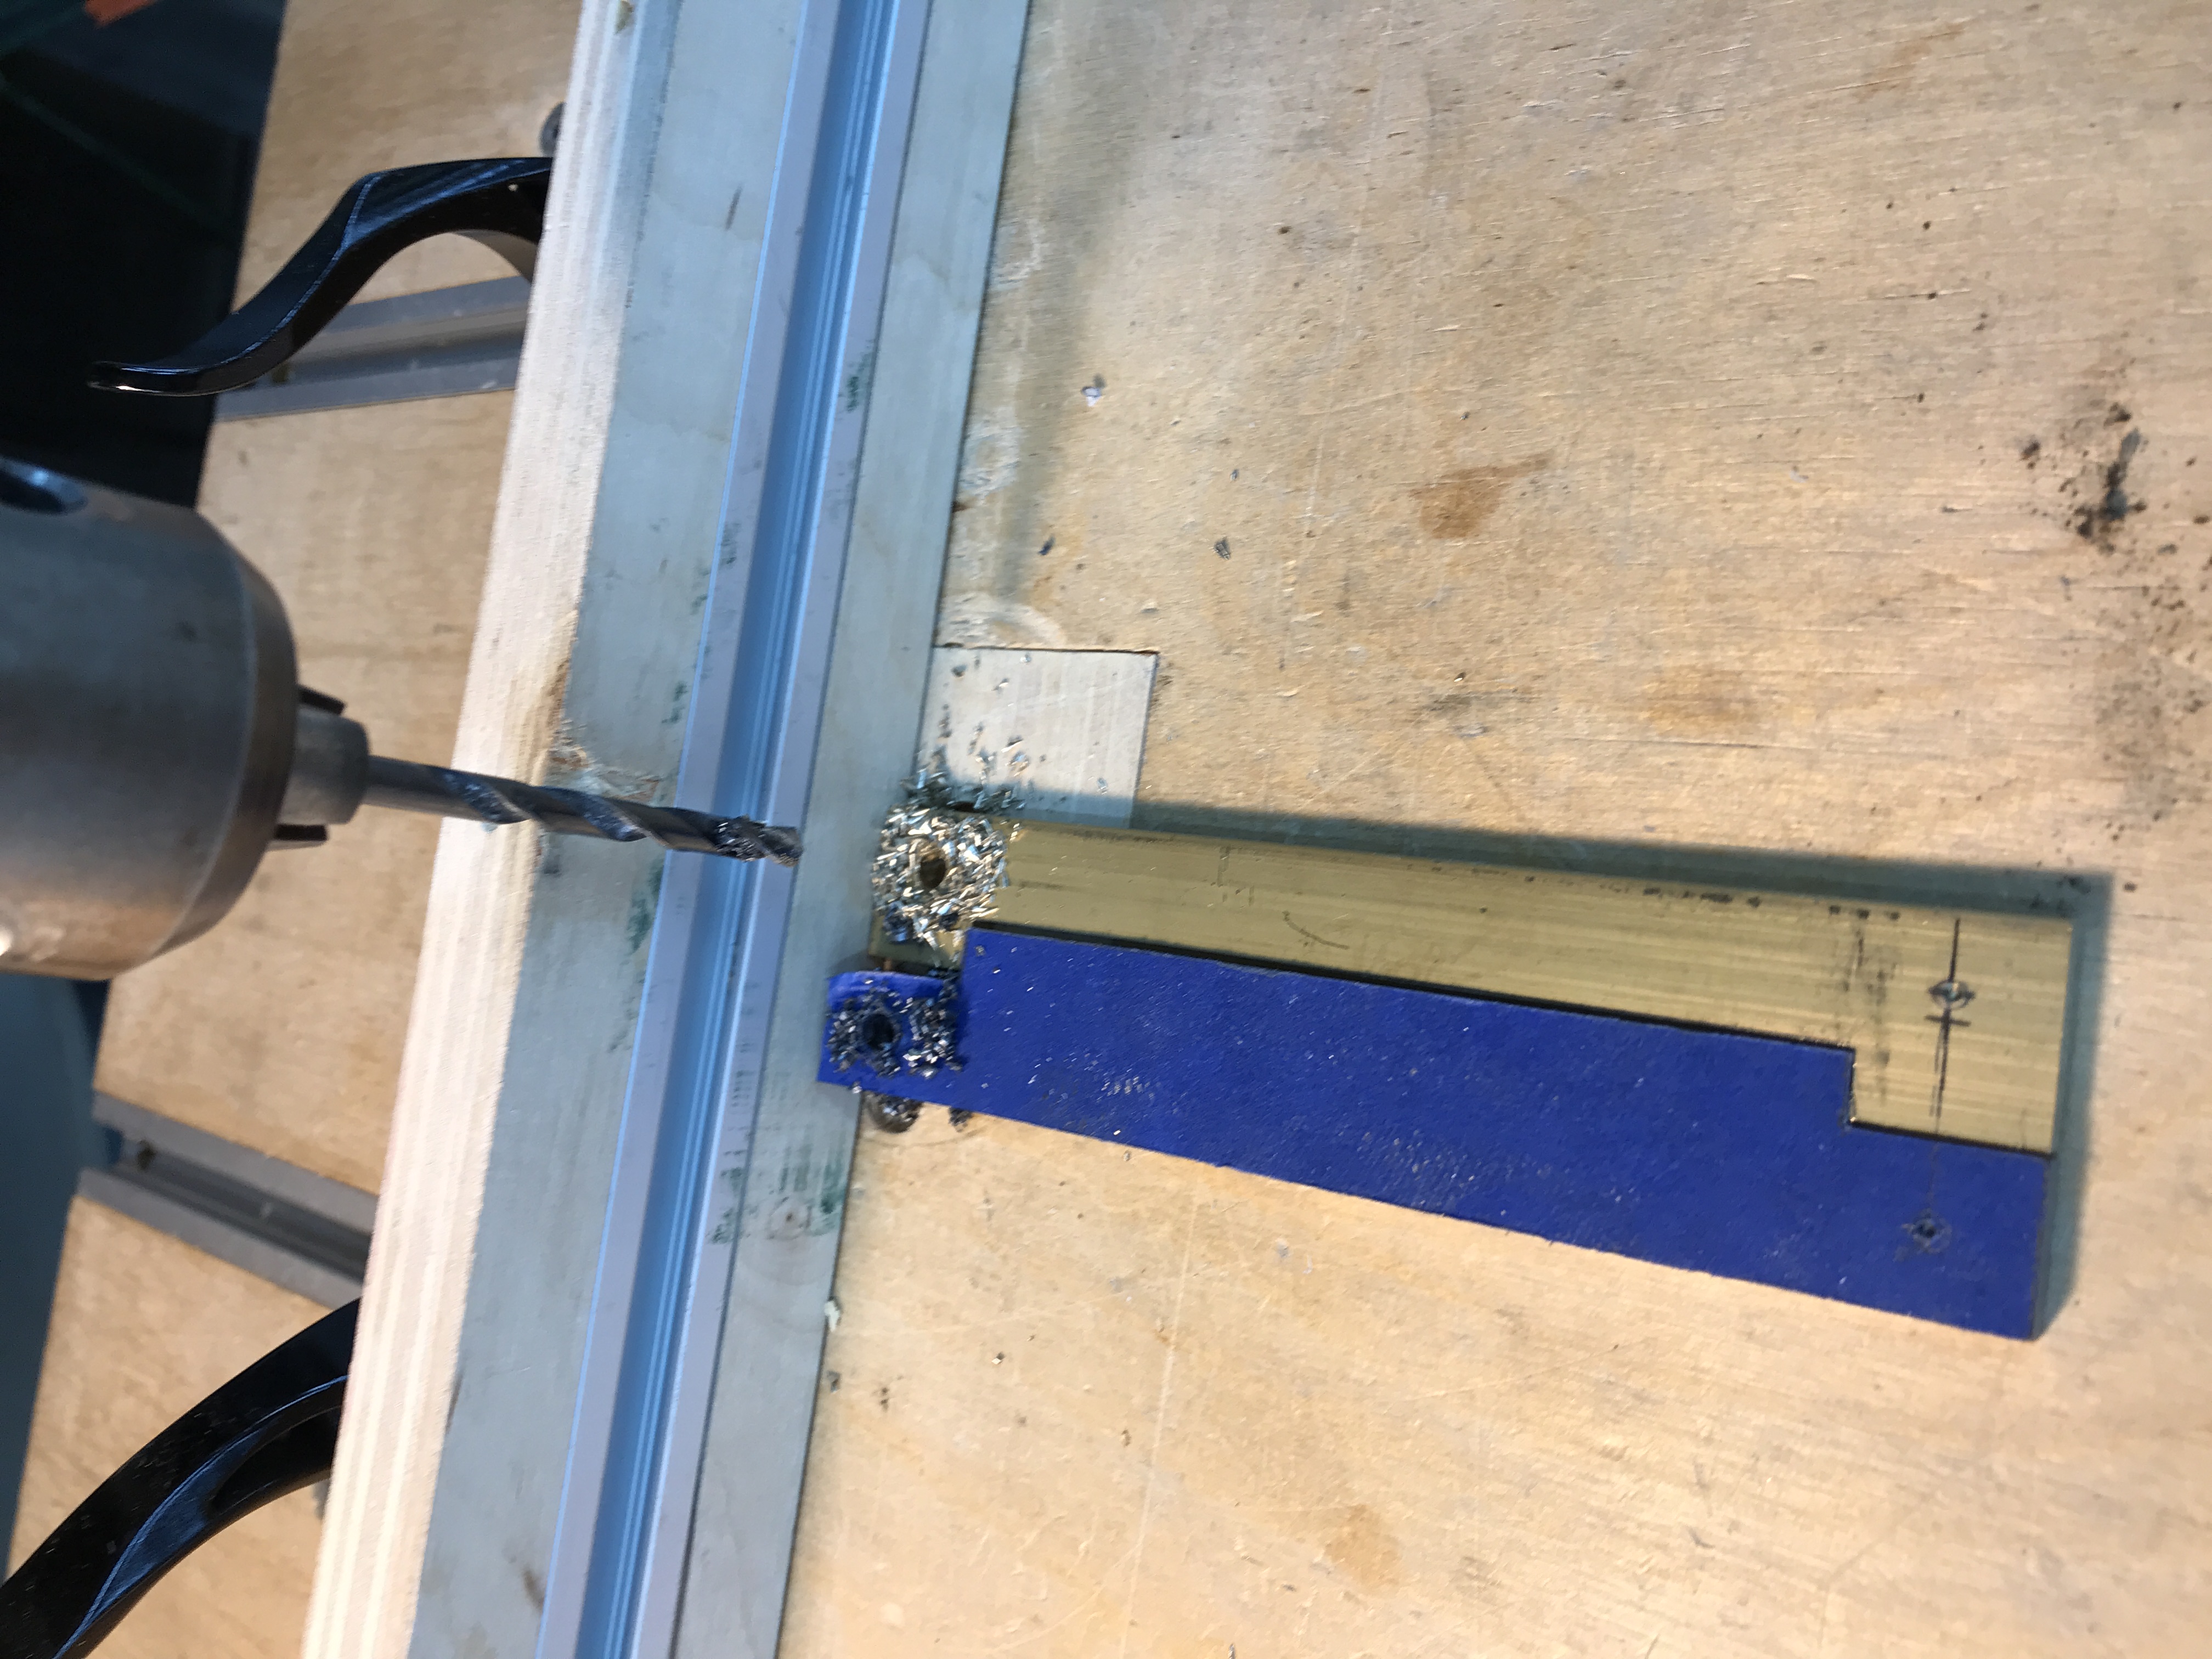
Holes were then drilled and countersunk on the drill press.
Next step was to bend the stock to the right shapes. The curved forms did most of the work but there was a bit of hammering involved too.

Then it was time to grind the bevels. I got pretty close to the target of 30 degrees.
Into the Forge With the shaping done it was time to temper the blades. This involves getting the steel really hot and then cooling it quickly. There’s a lot of science and precision that can be brought to this process but I didn’t have the means or inclination for that. When I was making the first travisher it took three tries before I got it right. On the first attempt I simply took a gas torch to the blade. It got nowhere near hot enough and the blade would not hold an edge. I needed to get the blade hotter, I needed a forge.
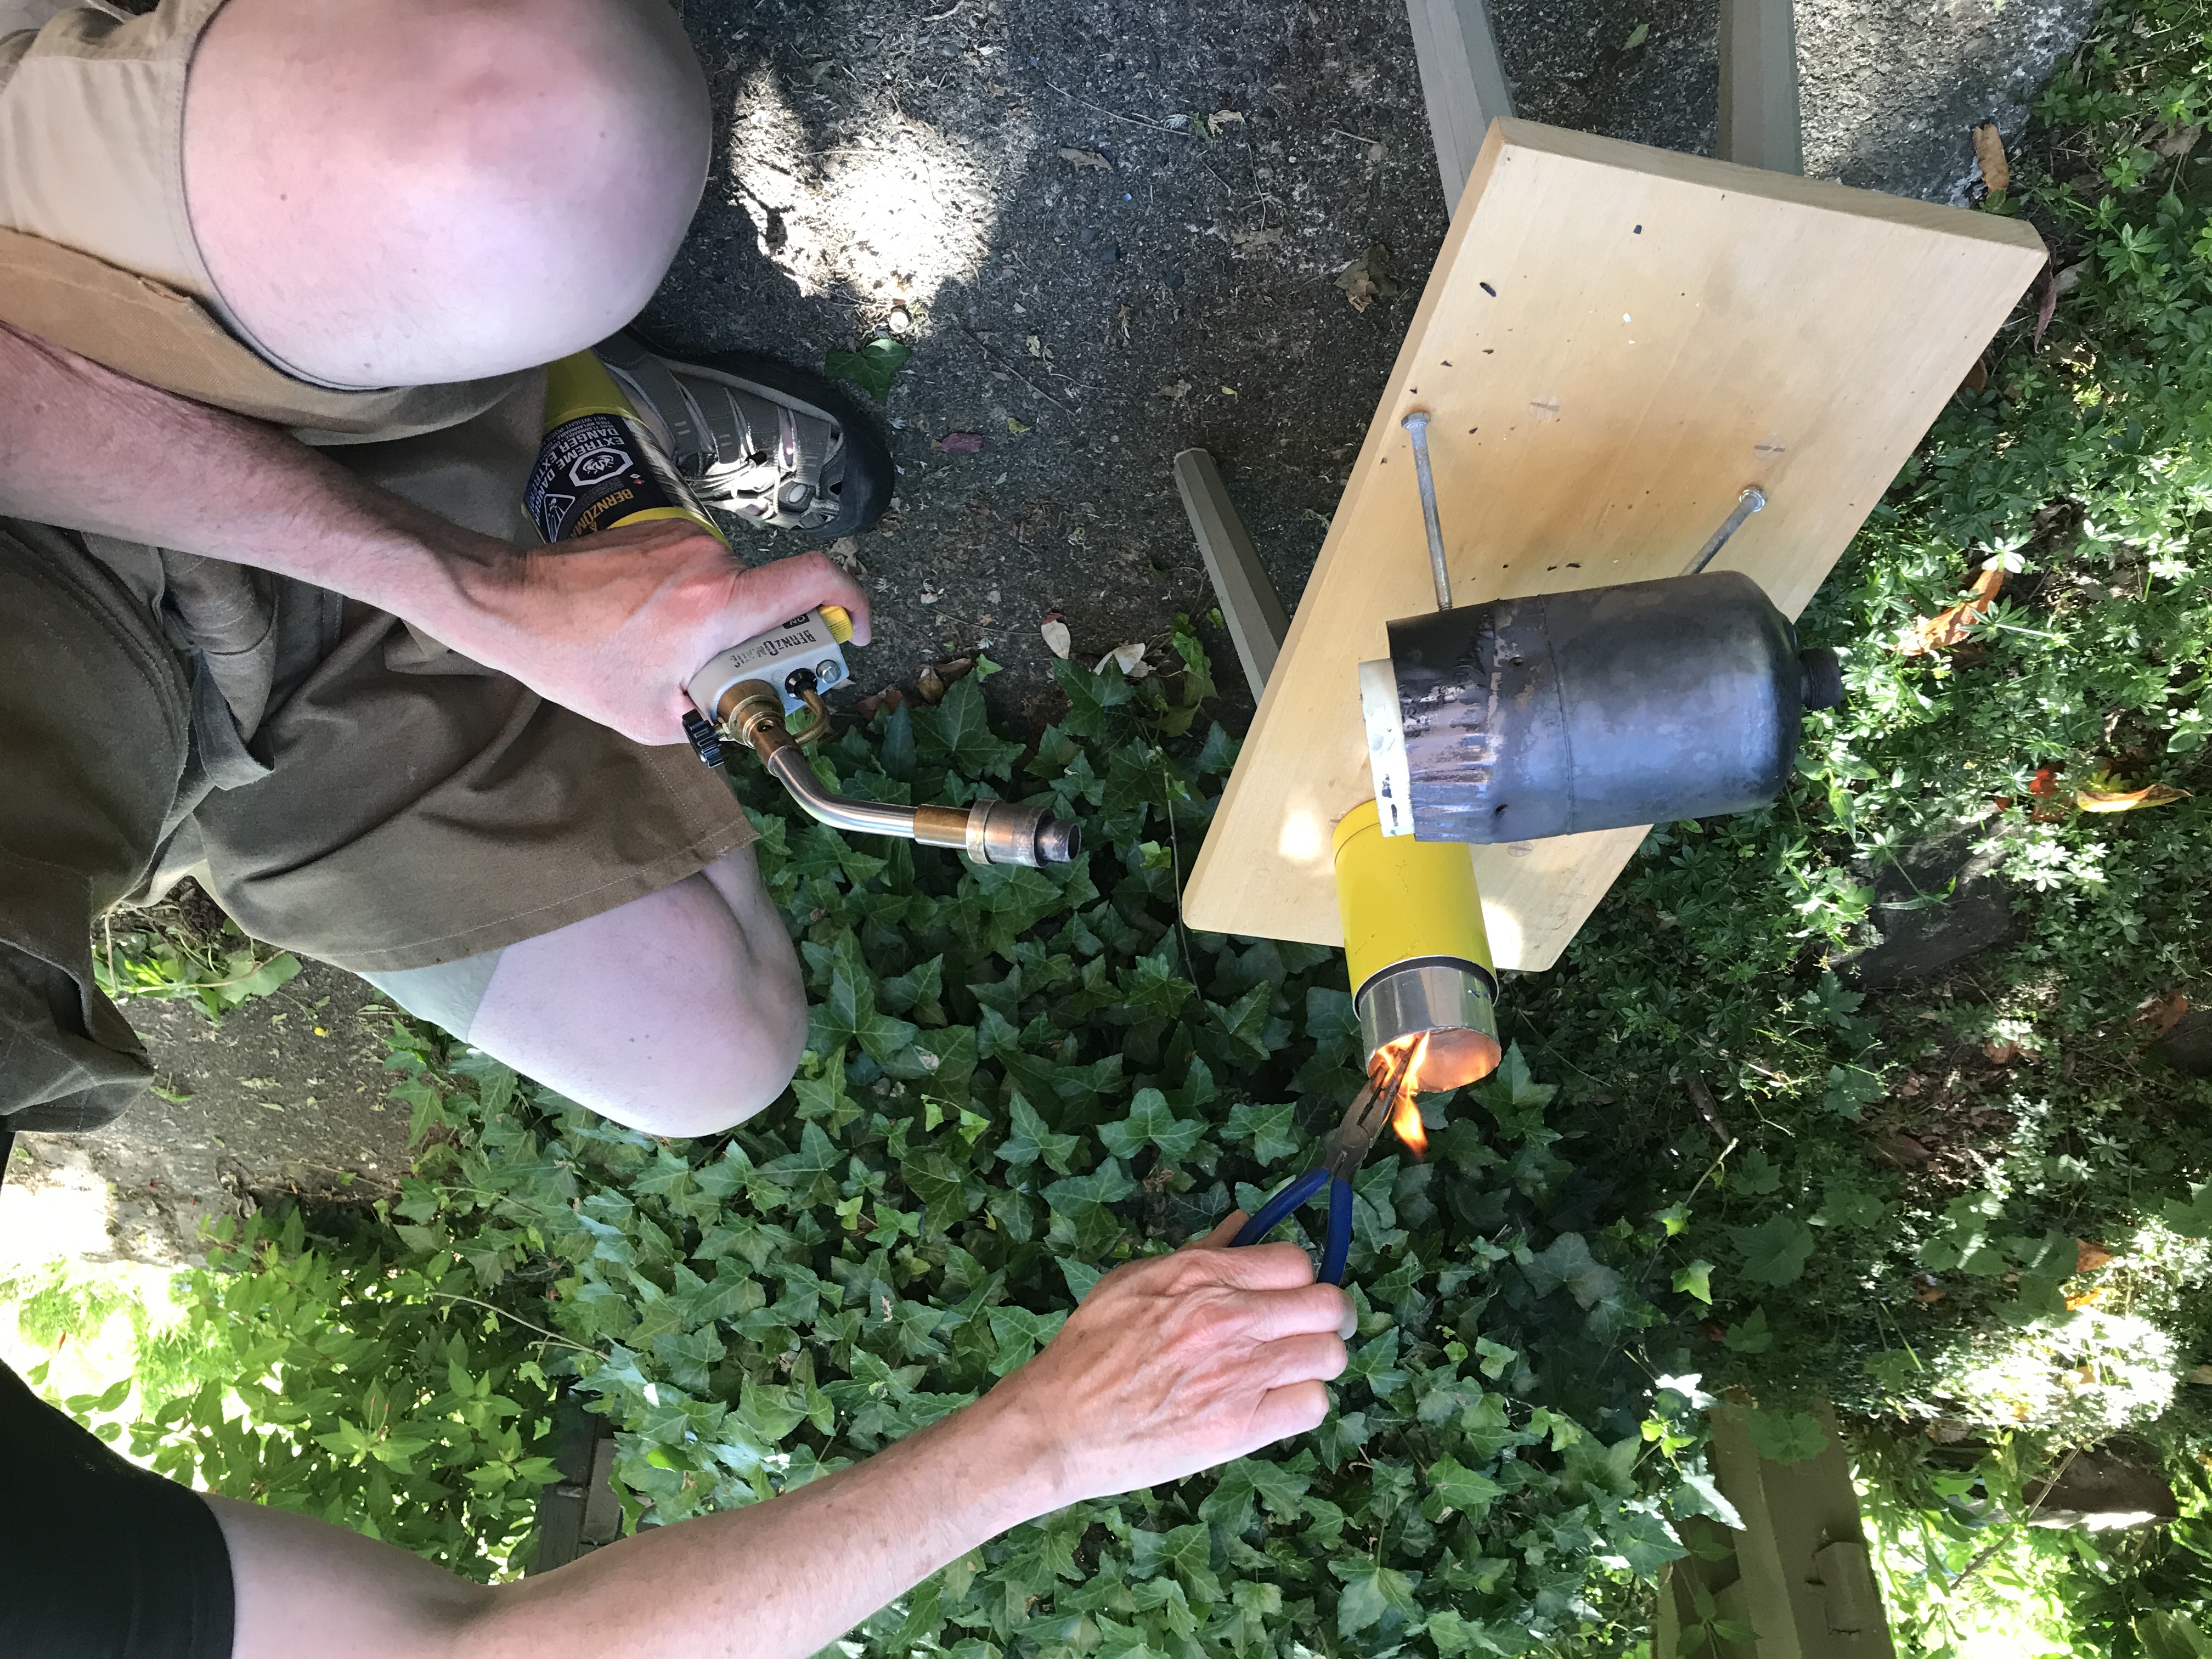
The internet is full of instructional videos for backyard forges and some of them seem easy enough to build. But I don’t expect to be making blades like this often and wanted the easiest path. I cut the end of a short 1-pound propane tank and tried heating the blade in that. Better, but still not quite hot enough. The space was too big and the metal tank lost too much of the heat. Then I put the end of a tall 1-pound tank into the first tank, for the two-layer effect. Three bolts worked as legs, and held the two tanks apart creating some insulating airspace. The resulting forge looks terrible. But it allowed me to get the blades hot enough.
The cheapest possible forge. Two propane cylinders, one wide one skinny, ends cut off and nested.
The forge in action.
Quenching the blade in vegetable oil (at this point a neighbour walks by and says yum, that smells like french fries)
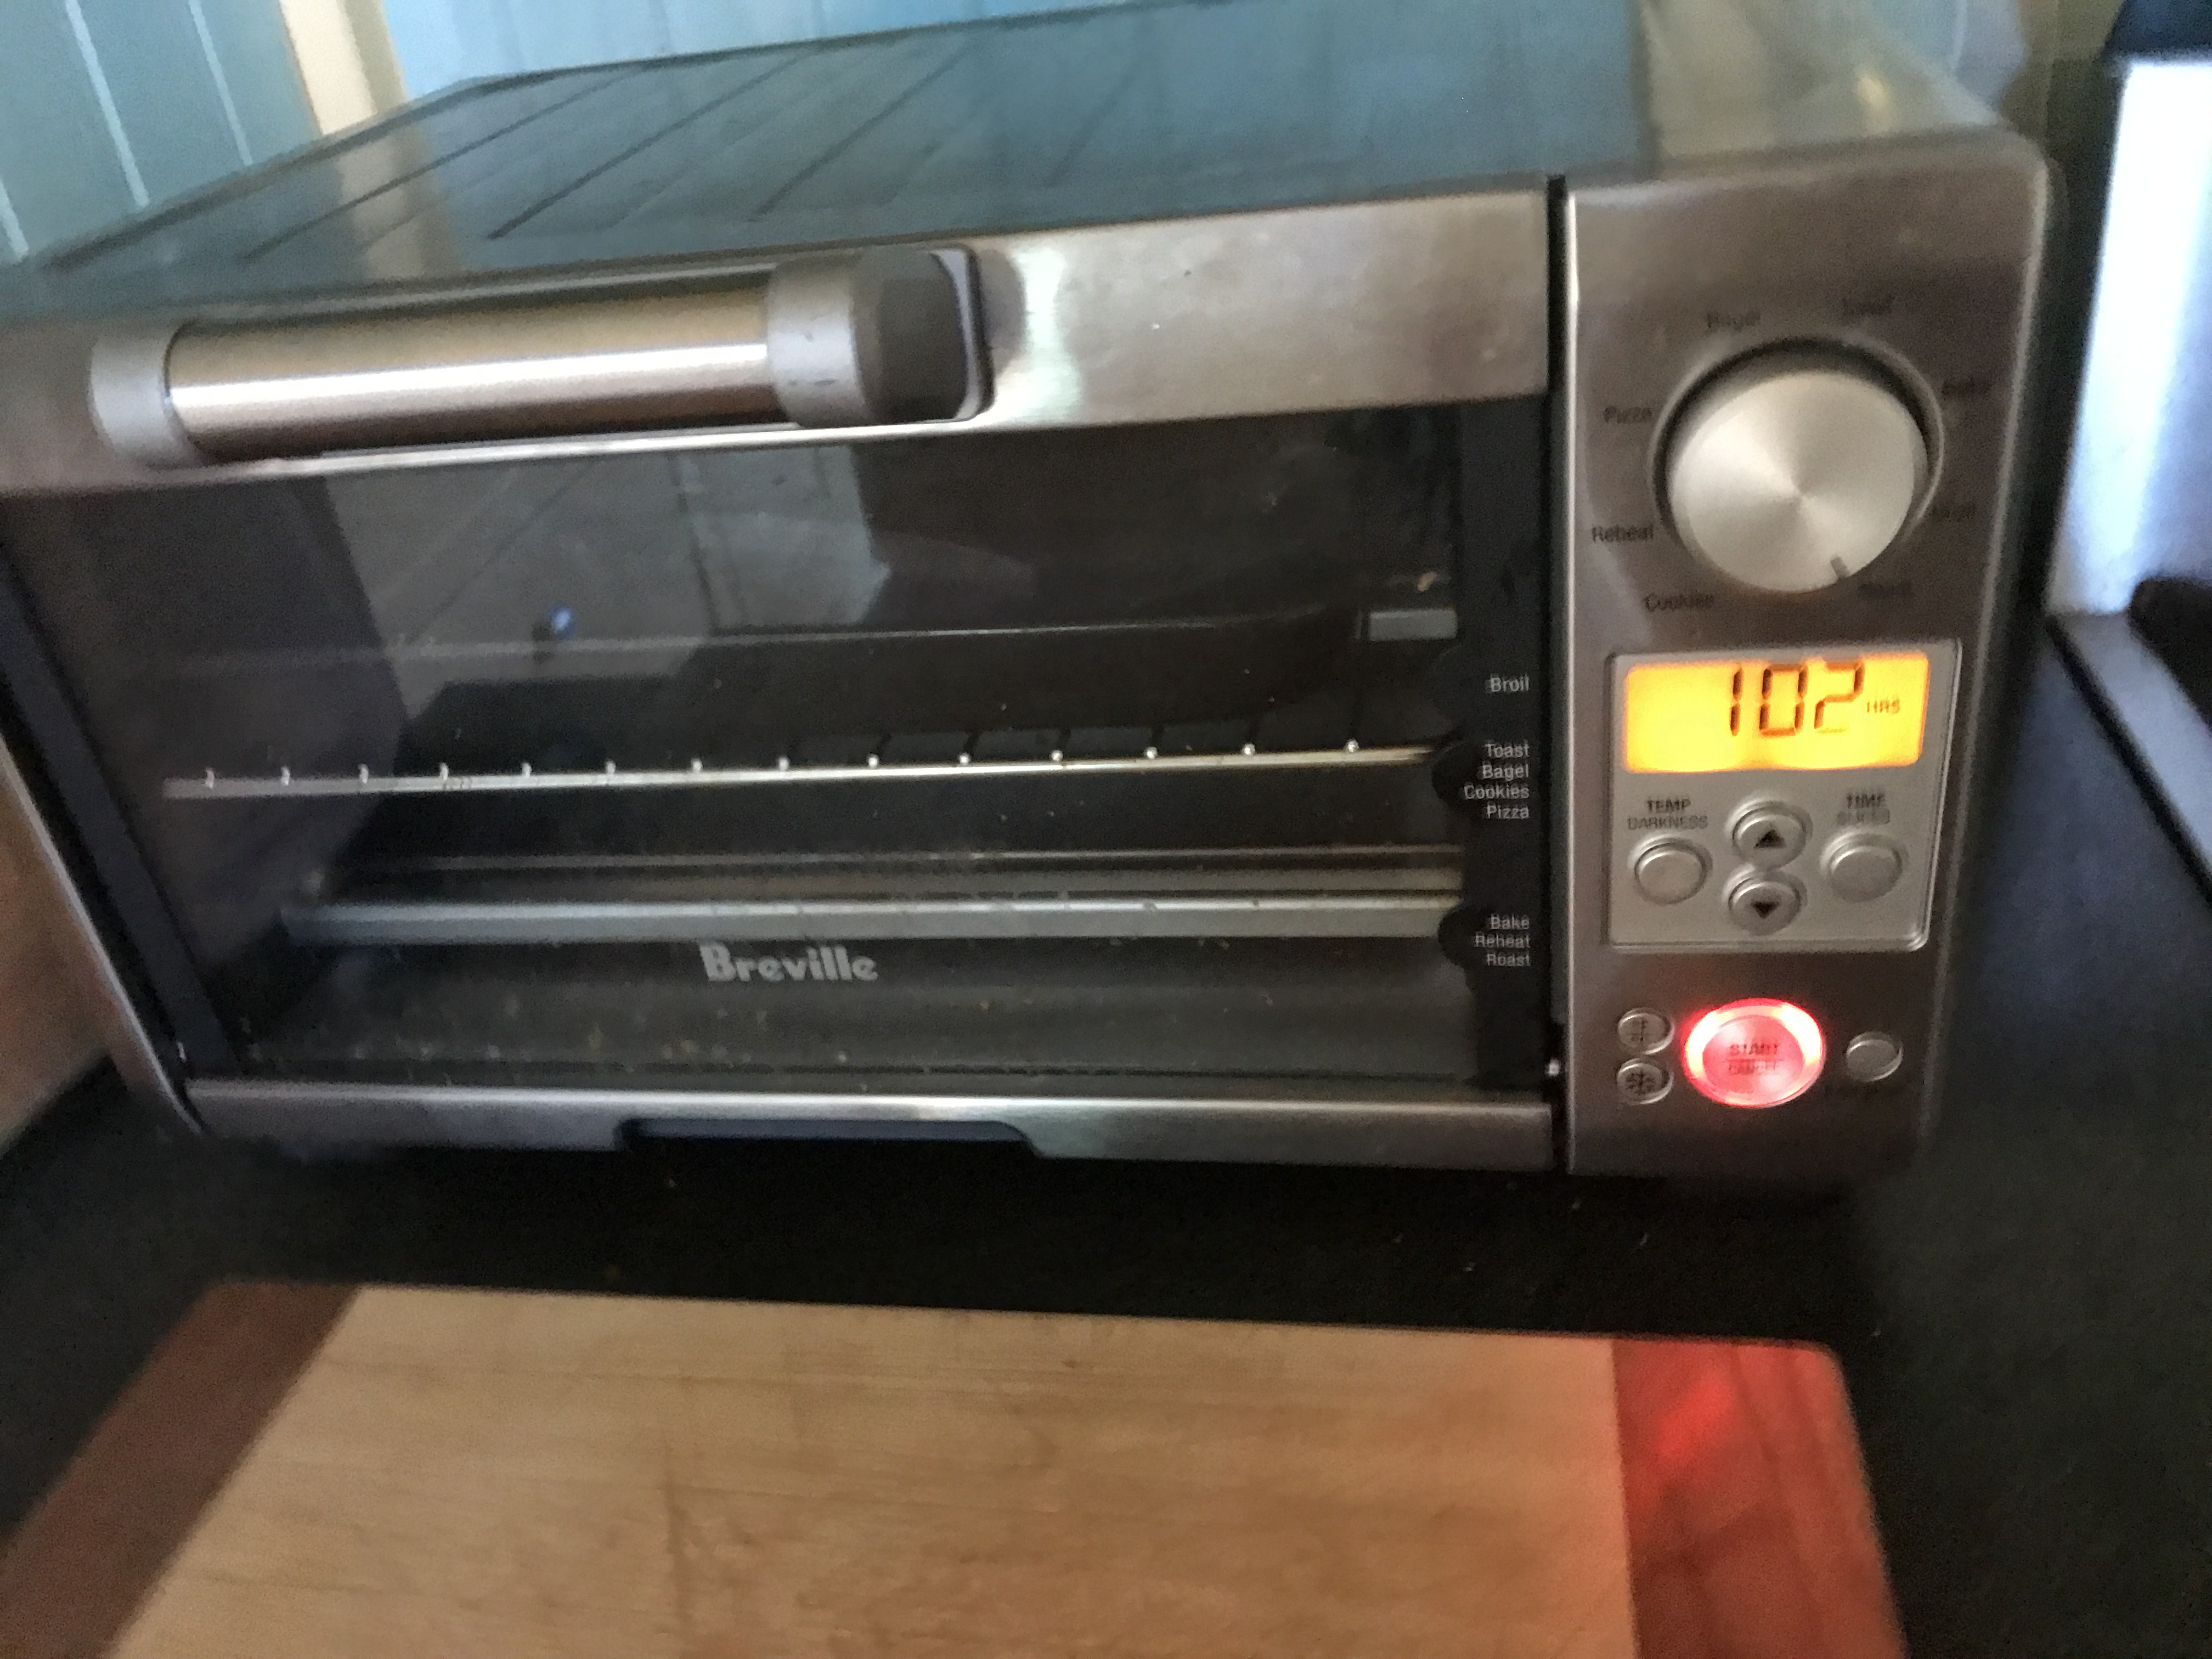
The last step in this process was to anneal the blade in the kitchen toaster oven at 400F for an hour.
Cleanup and Assembly
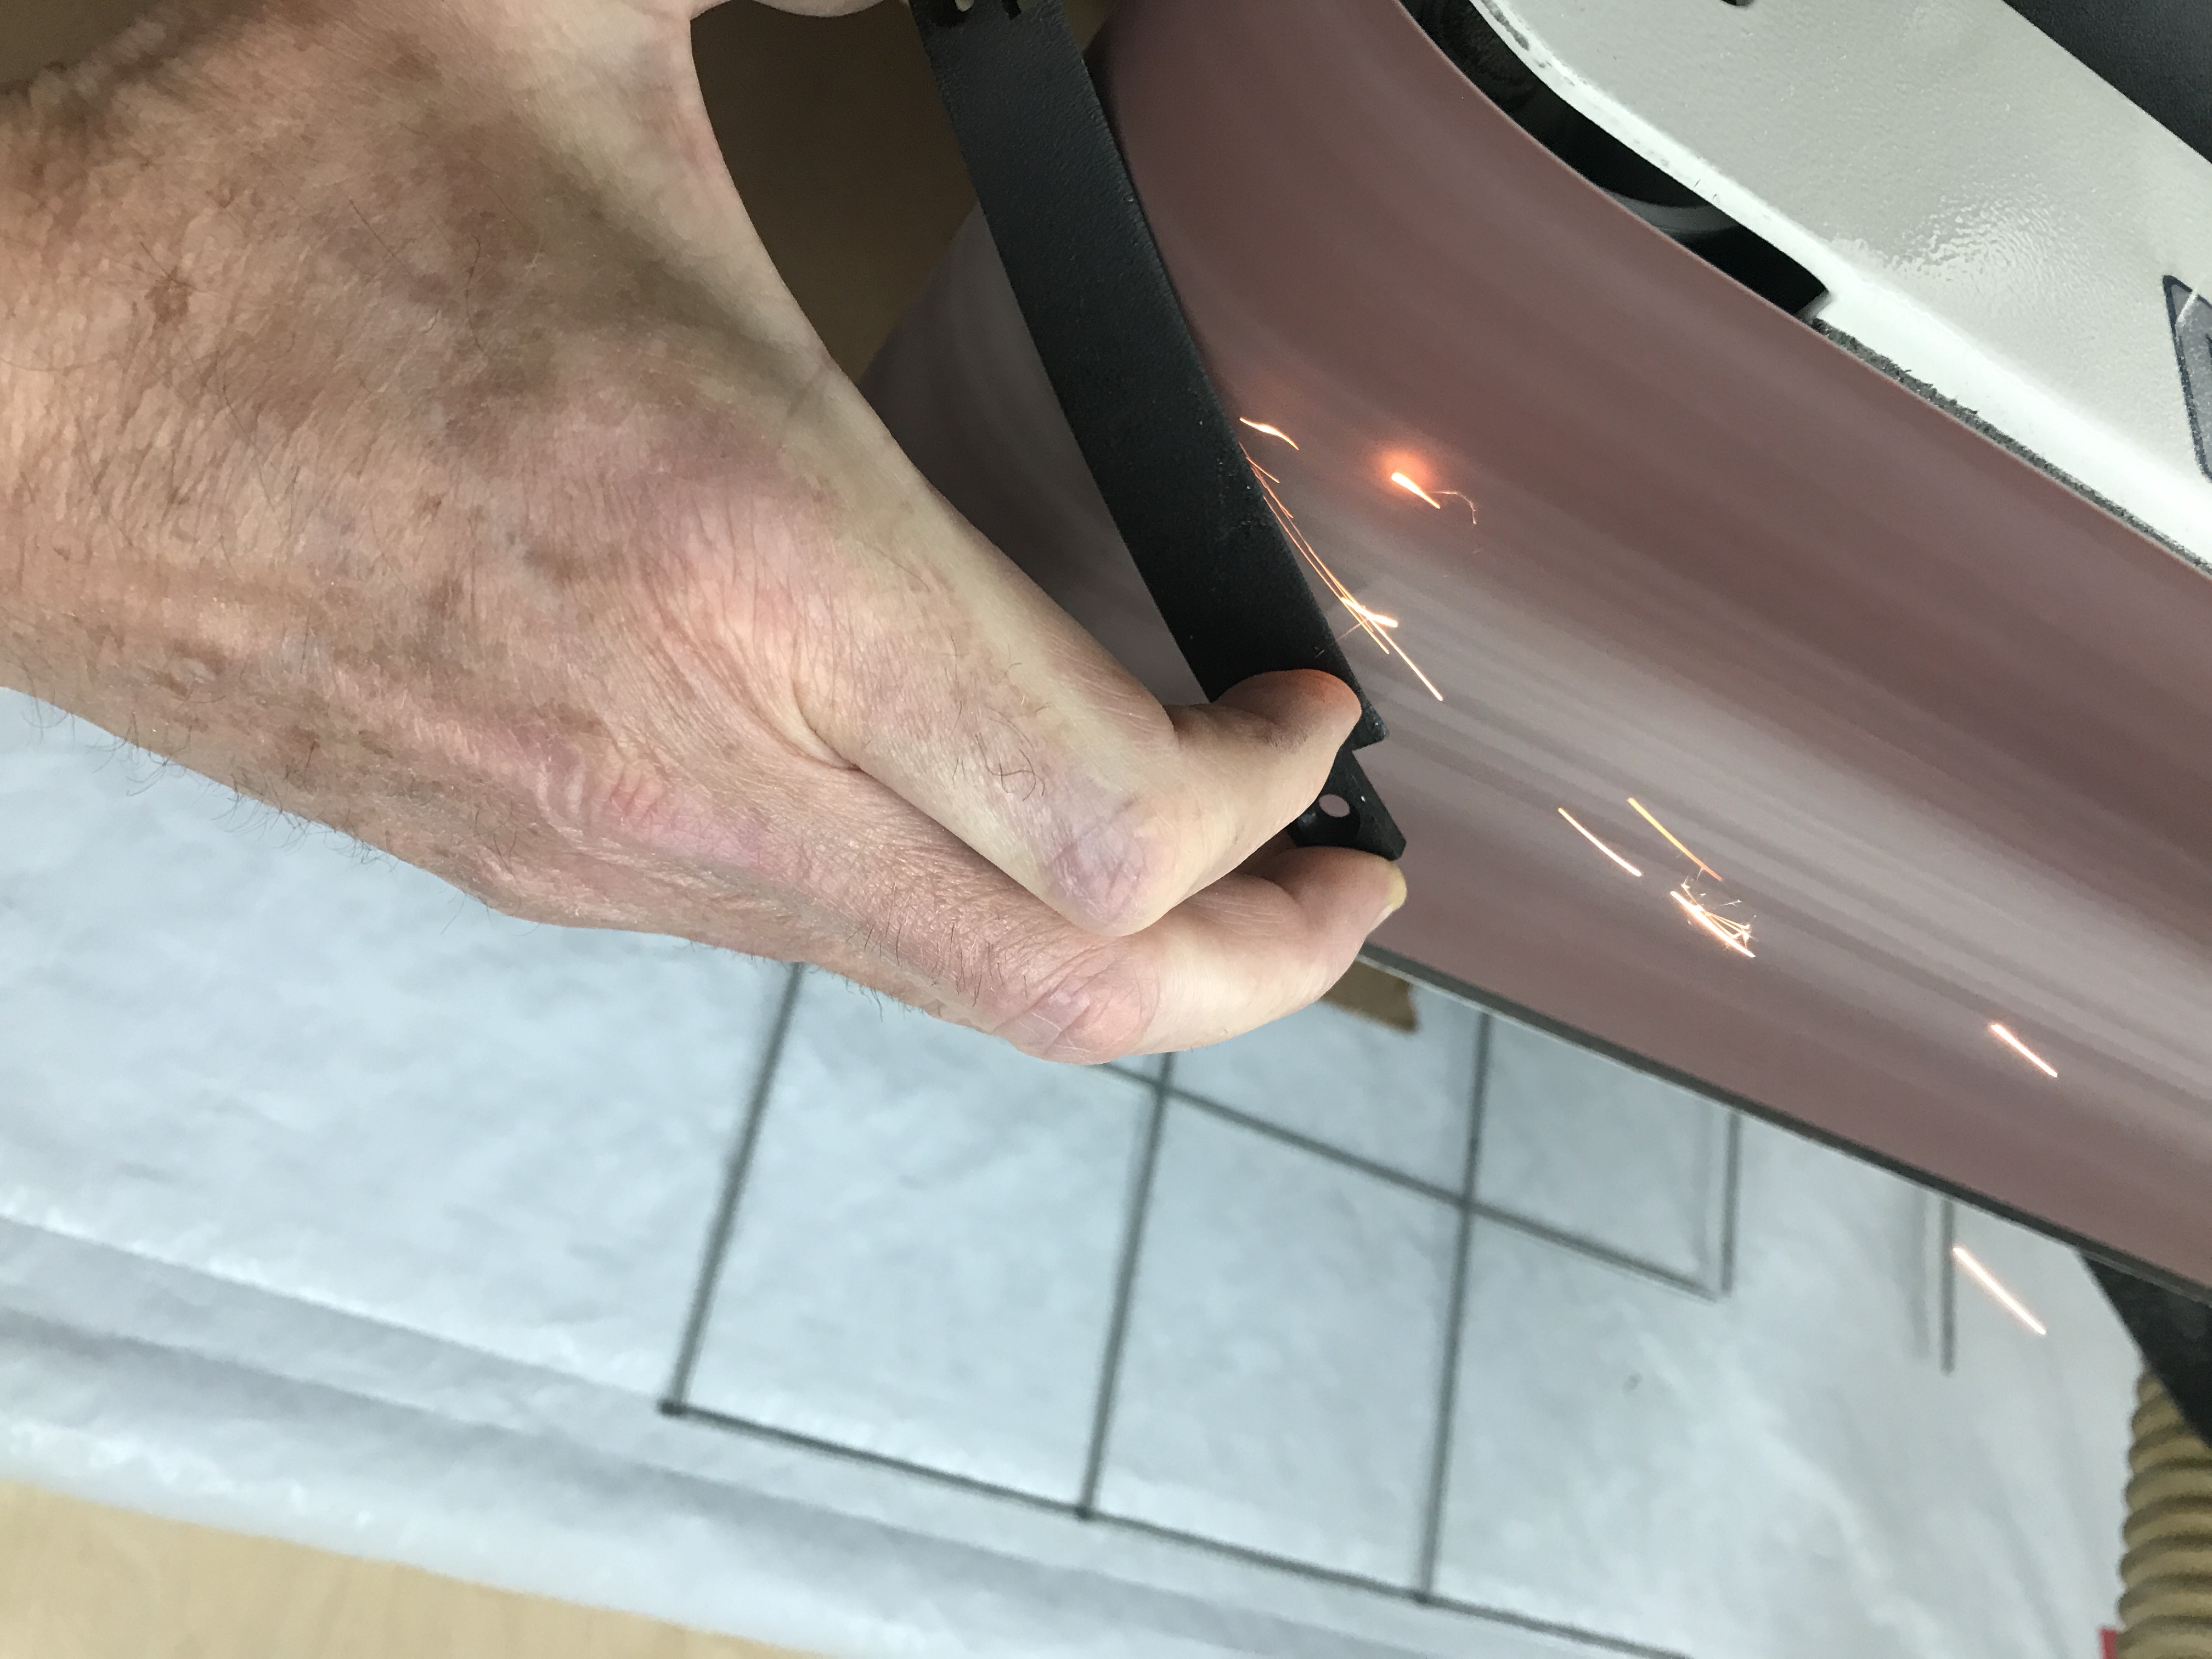
The belt sander was very handy for cleaning up the blades and the brass.
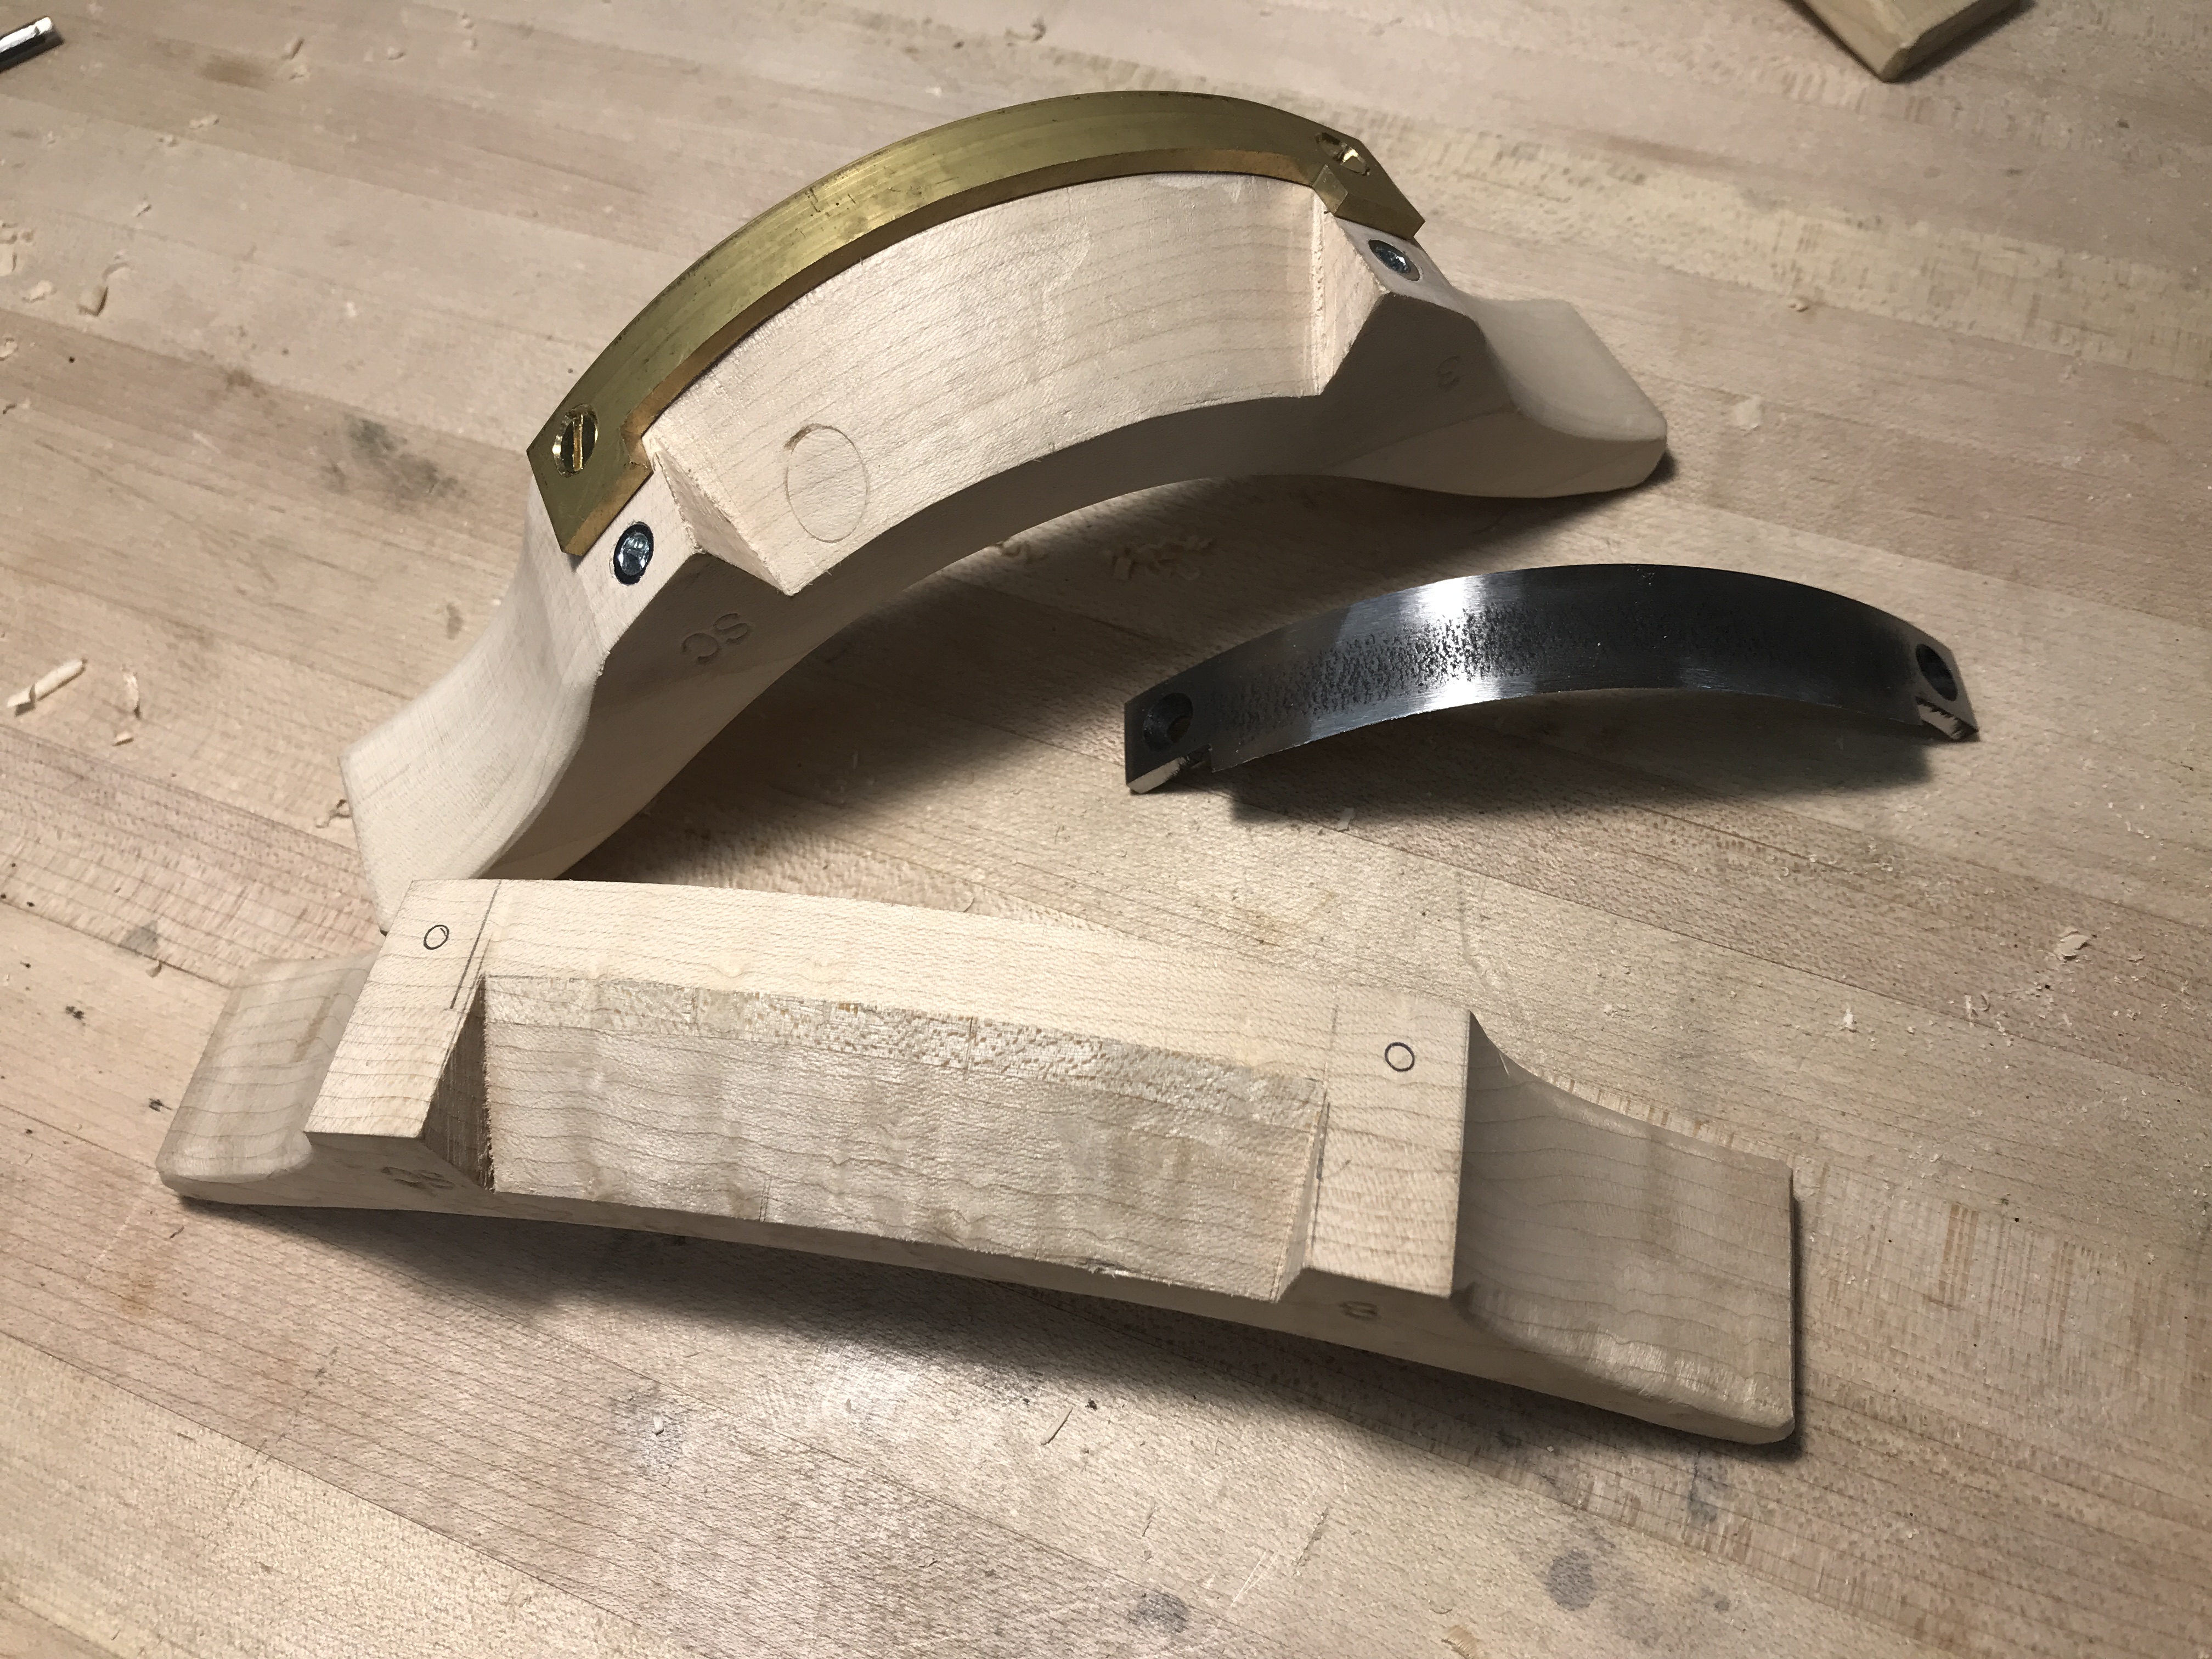
Then it was time to shape the plane bodies and install threaded insert nuts. For the first travisher I used larger machine screws and tapped threads into the maple, that seems to work fine too.
I forgot to take pictures to illustrate shaping the toe of the spokeshave (the brass bit) but the important part is to set the toe at three degrees off the blade, and then raise the blade as necessary (paper shims between the blade and plane body work fine)
Sharpening Concave bevels present an intresting challenge for sharpening. I puzzled over this for a while, but eventually found Barr Quarton’s video on sharpening his excellent scorps. I used the same technique on the travisher blades: DMT curved diamond hone, fine sandpaper or emery on a dowel, leather strop on a dowel.
Ready for Action